Create a sampler for your Designer Series Paper
Hello stamping friends! After a break to spend time with the family during the holidays, I’m back in the stamp studio! Woo-hoo! It can be difficult to get back in the groove after a crafting hiatus.

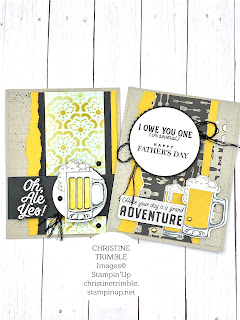
I decided to start by setting up my new catalog Designer Series Paper packs. This is the new Sweet Talk Designer Series Paper from the January- June Mini Catalog. If you haven’t seen a paper sampler done this way before I’ll include some measurements for those that are interested.
This is the simple, no frills version that works exactly the same as the ones you may have seen on printer paper.

When you purchase Designer Series Paper it generally comes with two sheets of each design. The sheets are double sided so you could also consider it to be one sheet of each design unless you have found a way to use both sides at the same time.
 |
| Sweet Talk Designer Series Paper $11.50 |
I buy Designer Series Paper with the intention of using it so I set up each pack for use when they arrive. This Designer Series paper is 12 x 12 as are most of them. I begin by deciding how to orient the paper and then cutting the paper at 5 1/4 inches twice. I set the remaining 1 1/2 x 12 strip to the side to cut later. Next I take the 5 1/4 x 12 paper strip and cut it every 4’. I repeat this with the second piece of 5 1/4 x 12 paper. This leaves me with six pieces of paper cut at 5 1/4 x 4 which is the standard size for most card fronts. Remember that I still have another sheet of the same paper in the pack if I need a non standard size piece.
I use the remaining 1 1/2 x 12 strip to create the paper sampler shown in the photo . I put the paper in my trimmer with the 12’ strip along the top of the trimmer. Next I cut the paper at the 2’ mark and then the 4’ mark. This leaves me with the two pieces you see on the paper sampler measuring
1 1/2 x 2’. Please note that the paper swatches that are next to each other in the picture are the opposite sides of the same piece since it is double sided paper. I keep the remaining strip for the inside of my cards.

I use the 1’ punch to see the coordinating colors at a glance on my paper sampler but you could use any punch you have. It’s so much more convenient to look at the punched paper when coordinating colors. To complete my sampler I glue down the 1 1/2 x 2’ paper swatches onto the sheet of 12 x 12 paper that comes in the back of the paper pack with the coordinating colors printed on it as shown. You could probably use liquid glue but some of backs of the paper packs have a glossy surface and I don’t like the mess so I prefer a tape runner for this project.

Next I use the tape runner to adhere the 1’ circles. I put the paper swatches on the sides and the 1’ circles along the top as shown but you can arrange yours however you like. I use the T ruler to line up the papers but it’s not necessary. The pen is to write the color names on the 1’ circles because it’s so much easier to see than the tiny writing on the label. I don’t usually need to reference the color names but depending on how comfortable you are identifying the colors it can be helpful.


Comments
Post a Comment